

Hey there! I'm a supplier of 100w solar LED lights, and today I'm gonna walk you through the installation process of these awesome lights.
The Basics: What You Need to Know First
Before we start with the actual installation, let's talk a bit about why 100w solar LED lights are so great. They're energy - efficient, which means you'll save a ton on your electricity bills. Plus, they're eco - friendly as they run on solar power, reducing your carbon footprint.
Gathering the Tools and Materials
First things first, you need to gather all the necessary tools and materials. You'll need a drill, a ladder, screws, wire cutters, and of course, your 100w solar LED light kit. The kit usually includes the light fixture, the solar panel, the battery, and all the necessary wiring.
Choosing the Right Location
Picking the right spot for your solar LED light is crucial. The solar panel needs to get plenty of sunlight throughout the day. So, look for an area that's not shaded by trees or buildings. A south - facing location is often the best in the northern hemisphere, as it gets the most sunlight.
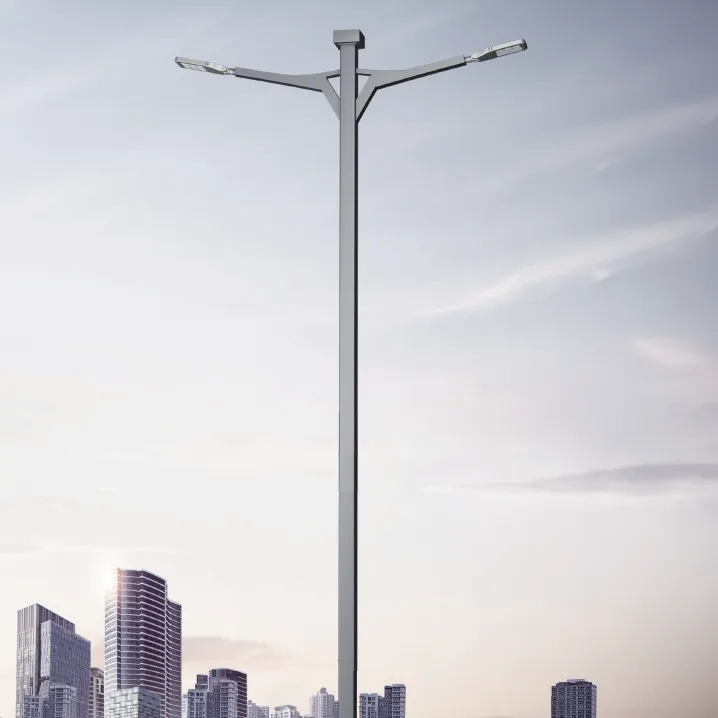
Once you've found the perfect spot, make sure it's also a stable surface. You don't want your light to topple over in a strong wind. If you're installing it on a pole, check that the pole is sturdy and can support the weight of the light and the solar panel.

Mounting the Solar Panel
Now, let's get to mounting the solar panel. Use the drill to make holes in the surface where you want to install the panel. Then, attach the panel using the screws. Make sure it's securely fastened. The angle of the solar panel is important too. It should be tilted at an angle that maximizes sunlight absorption. A good rule of thumb is to set the angle equal to your latitude.
Installing the Light Fixture
Next up is the light fixture. Find a suitable place to mount it, usually below the solar panel. You can use a bracket to attach the light to the pole or the wall. Again, use the drill to make holes and secure the light with screws.
Connecting the Wiring
Connecting the wiring is a bit tricky, but it's super important. First, connect the solar panel to the battery. Make sure the positive and negative terminals match up correctly. Then, connect the battery to the light fixture. Double - check all the connections to ensure there are no loose wires.
Testing the Light
Once everything is connected, it's time to test the light. Wait until the sun goes down to see if the light turns on automatically. If it doesn't, check all the connections again. Sometimes, the battery might need to be charged for a full day before it starts working properly.
Maintenance Tips
To keep your 100w solar LED light in top shape, you should clean the solar panel regularly. Dust and dirt can reduce its efficiency. Also, check the battery every few months to make sure it's holding a charge.
Other Related Products
If you're interested in other types of solar LED lights, we also offer 50 Led Street Light, which are great for smaller areas. And for larger spaces, our 800w Solar Street Light is a powerful option. You might also be interested in Led Lights Road, which are designed specifically for road lighting.
Why Choose Our 100w Solar LED Lights
Our 100w solar LED lights are made with high - quality materials. They're durable and can withstand different weather conditions. We've also designed them to be easy to install, so you don't need to be a professional to get them up and running.
Let's Talk Business
If you're interested in purchasing our 100w solar LED lights or any of our other products, we'd love to hear from you. Whether you're a contractor looking to light up a new project or a homeowner wanting to add some outdoor lighting, we've got you covered. Reach out to us to start a conversation about your specific needs. We can provide you with detailed quotes and answer any questions you might have.
References
- General knowledge about solar LED light installation from industry experience.
- Research on solar panel efficiency and battery performance.


