As a supplier of 100w solar LED lights, I often encounter inquiries from customers regarding the installation difficulty level of these energy - efficient lighting solutions. In this blog, I'll comprehensively analyze the installation process of a 100w solar LED light, shedding light on the factors that influence its complexity and providing practical insights to help you make an informed decision.
1. Components of a 100w Solar LED Light
Before delving into the installation difficulty, it's essential to understand the main components of a 100w solar LED light. Typically, it consists of a solar panel, a 100w LED light fixture, a rechargeable battery, and a charge controller. The solar panel captures sunlight and converts it into electricity, which is then stored in the battery. The charge controller regulates the charging process to prevent over - charging and over - discharging of the battery, and the LED light uses the stored energy to illuminate during the night.
2. Factors Affecting Installation Difficulty
Location and Site Conditions
The first and most significant factor is the installation location. If you plan to install the solar LED light in an open area with unobstructed sunlight, such as a large parking lot or a rural road, the installation will generally be less challenging. The solar panel needs to be installed at an angle that maximizes sunlight exposure throughout the day. In such open spaces, it's easier to find a suitable spot and adjust the panel's orientation.
However, if the installation site is in a densely built - up urban area, things can get tricky. Tall buildings may cast shadows on the solar panel, reducing its efficiency. You may need to find a creative way to mount the panel on a pole or a rooftop to ensure it gets enough sunlight. For instance, in a narrow alleyway, you might have to use a longer mounting arm to extend the solar panel out of the shadow zone.


Another aspect of site conditions is the terrain. A flat and stable ground makes the installation of the light pole much simpler. On the other hand, if the ground is uneven, sloped, or rocky, you'll need to take extra measures to ensure the stability of the pole. You may have to dig deeper holes, use concrete footings, or employ special mounting brackets to secure the pole firmly.
Electrical Wiring and Connection
The electrical connections within the solar LED light system also contribute to the installation difficulty. Connecting the solar panel, battery, charge controller, and the LED light requires a basic understanding of electrical circuits. For those with some electrical knowledge, it's a relatively straightforward process. You need to connect the positive and negative terminals correctly to ensure proper power flow.
However, if you're not familiar with electrical work, it can be a bit intimidating. One wrong connection can lead to malfunctions or even damage to the components. For example, if the battery is connected with reversed polarity, it can cause irreversible damage to the charge controller. In such cases, it's advisable to seek the help of a professional electrician.
Mounting and Assembly
The mounting and assembly of the 100w solar LED light components can vary in difficulty. Some solar LED lights come with pre - assembled parts, which significantly simplifies the installation process. You just need to attach the solar panel to the pole, connect the wires, and mount the LED light fixture.
On the other hand, some models may require more extensive assembly. You might have to assemble the light pole from multiple sections, which involves using bolts and nuts. Additionally, different types of mounting hardware are available, and choosing the right one for your installation site can be a challenge. For example, if you're mounting the light on a wooden pole, you'll need different brackets compared to mounting on a metal pole.
3. Installation Steps and Associated Difficulties
Step 1: Site Preparation
The first step in installing a 100w solar LED light is site preparation. This involves clearing the area of any debris, vegetation, or obstacles. If the ground needs to be leveled, it can be a time - consuming task, especially if the site has a significant slope. Measuring and marking the exact location for the light pole is also crucial. Any inaccuracies at this stage can lead to problems later, such as an unstable pole or a misaligned solar panel.
Step 2: Mounting the Solar Panel
Mounting the solar panel is a critical step. As mentioned earlier, the panel needs to be oriented correctly to receive maximum sunlight. This may require the use of a solar angle calculator to determine the optimal tilt angle based on your geographical location. Once the angle is determined, you need to securely mount the panel on the pole or a suitable structure. Using the wrong mounting hardware or not tightening the bolts properly can result in the panel being loose, which may affect its performance and durability.
Step 3: Installing the Light Pole
Installing the light pole is often the most physically demanding part of the installation. If the pole is heavy, you may need assistance to lift and position it in the pre - dug hole. As mentioned, uneven or rocky ground can make this step more difficult. After placing the pole in the hole, you need to fill the hole with concrete or gravel to ensure its stability. This process requires careful mixing of the concrete and proper tamping to eliminate air pockets.
Step 4: Electrical Connections
As discussed, making the electrical connections is a crucial and potentially difficult step. You need to follow the wiring diagram provided by the manufacturer carefully. After connecting all the components, it's essential to test the system to ensure that the solar panel is charging the battery and the LED light is working properly. If there are any issues, troubleshooting can be time - consuming, especially if the problem is related to a faulty connection or a malfunctioning component.
4. Mitigating Installation Difficulties
If you're concerned about the installation difficulty, there are several ways to mitigate it. First, choose a solar LED light kit that comes with detailed installation instructions and all the necessary hardware. Some manufacturers even offer online installation guides and video tutorials, which can be extremely helpful, especially for DIY installers.
Secondly, consider hiring a professional installer. A trained electrician or a solar installation expert has the experience and knowledge to handle various installation challenges. They can quickly assess the site conditions, make the right decisions regarding mounting and wiring, and ensure that the system is installed correctly and safely.
5. Our Products and Related Links
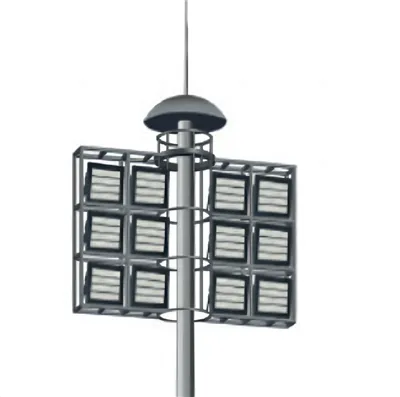
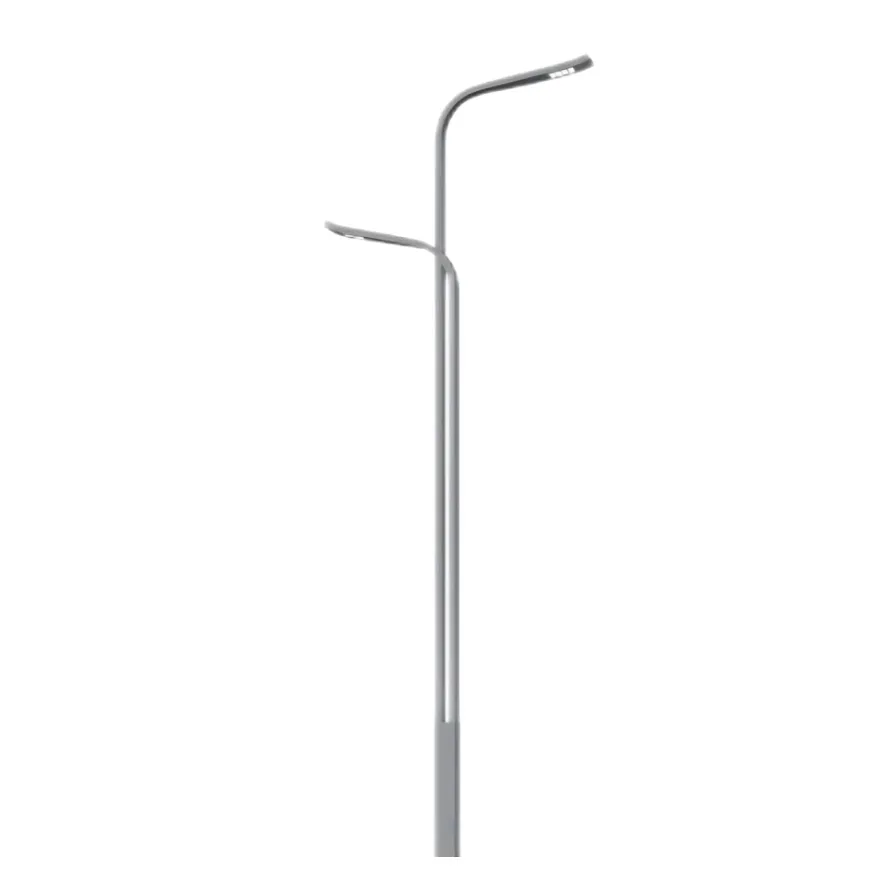
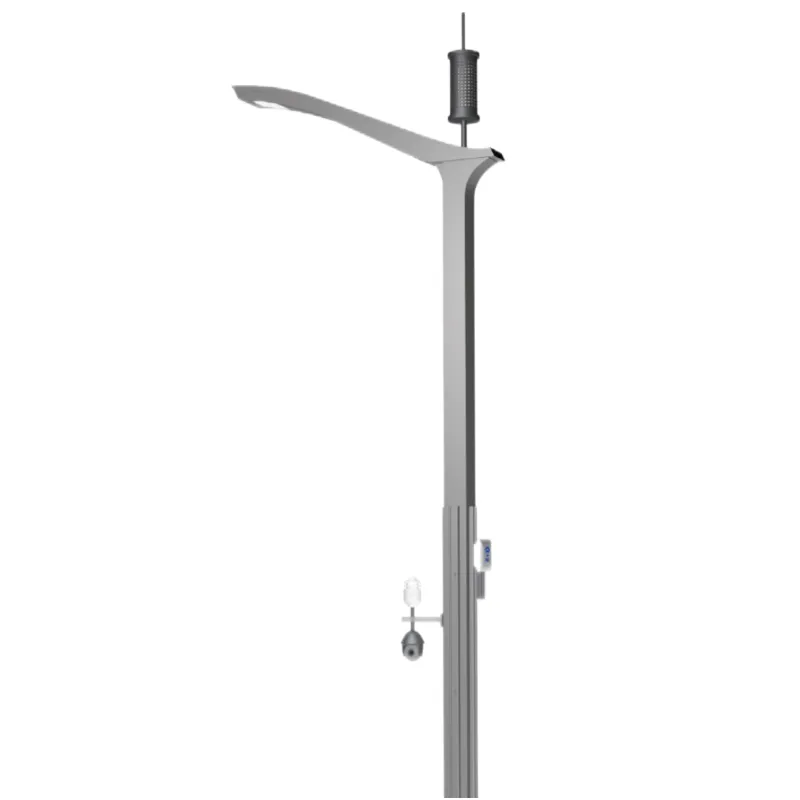
At our company, we offer high - quality Solar Led Light 100w that are designed with ease of installation in mind. Our products come with comprehensive installation manuals and all the necessary components. In addition to the 100w solar LED lights, we also have Led Solar Street Light 500w for larger - scale lighting projects. If you're looking for lighting solutions for roads, our Led Lights Road series provides excellent illumination and energy efficiency.
6. Conclusion and Call to Action
In conclusion, the installation difficulty of a 100w solar LED light can vary depending on multiple factors such as location, site conditions, and your own technical skills. While it can be a DIY project for those with some knowledge and experience, it's always a good idea to seek professional help if you're unsure.
If you're interested in purchasing our high - quality solar LED lights, we're here to assist you. Whether you have questions about the installation process or need advice on choosing the right product for your needs, feel free to contact us for a detailed discussion. Our team of experts is ready to guide you through every step of the procurement and installation process.
References
- Solar Energy International. "Solar Photovoltaic Installation Handbook."
- LED Lighting Association. "Best Practices for LED Solar Light Installation."
- Manufacturer's Installation Manuals for 100w Solar LED Lights.